22. Green Screen Car
Nd113 C7 20 L Green Screen Car V2
INSTRUCTOR NOTE:
The code should read cv2.inRange() and the complete notebook is in the next section.
Green Screen
To create a color mask, I’ll create a color threshold, I’ll define lower and upper bounds for the color I want to isolate: green.
# Define our color selection boundaries in RGB values
lower_green = np.array([0,180,0])
upper_green = np.array([100,255,100])
Next, I’ll use the color thresholds I just created to create an image mask.
# Define the masked area
mask = cv2.inRange(image, lower_green, upper_green)
Then, to mask the image, I’ll make an image copy called masked_image, of our original image to manipulate without changing the original image. To select the green screen area, is by asking for the part of the image that overlaps with the part of the mask that is white or not black (!= 0).
# Mask the image to let the car show through
masked_image = np.copy(image)

masked_image[mask != 0] = [0, 0, 0]
Then, when we display our masked_image, we can see that the car area is the only area that shows through; the green screen background is gone!
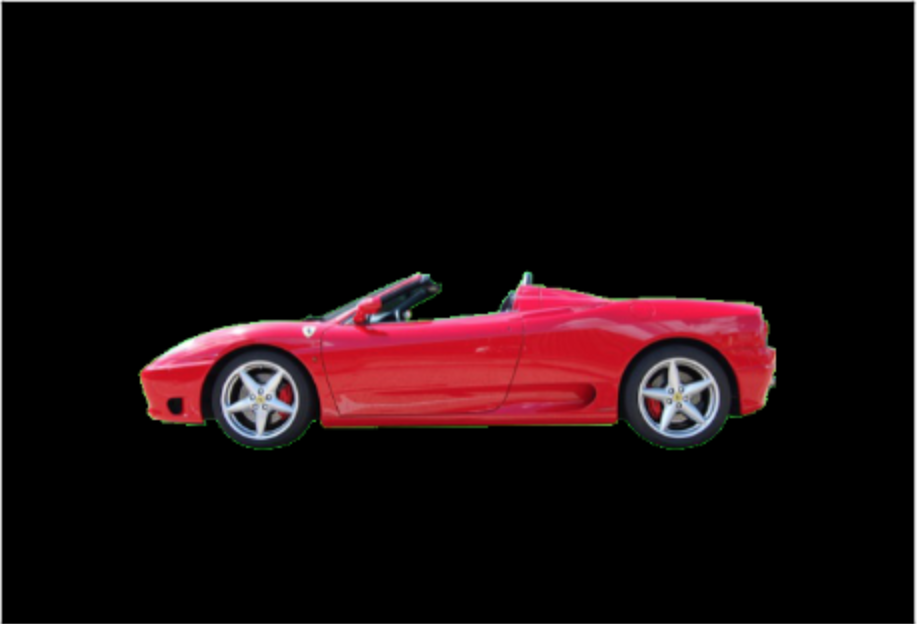
Masked background!
Next, it’ll be up to you to practice masking and add a background! You should get an image that looks similar to the flying car below.
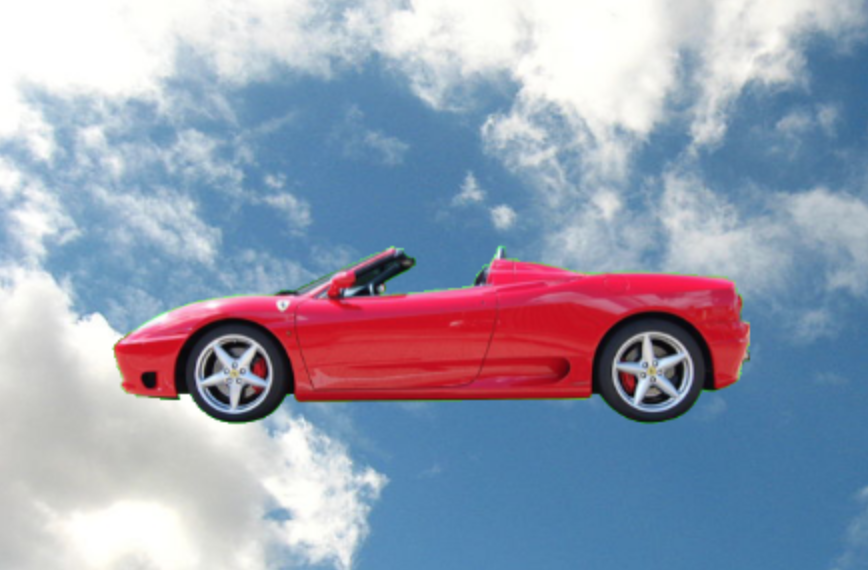
Green screen replaced with an image of the sky.